Jupyter Notebook / Google Colab Tutorial
A Jupyter notebook lets you write and execute Python code locally in your web browser. Jupyter notebooks make it very easy to tinker with code and execute it in bits and pieces; for this reason they are widely used in scientific computing. Colab on the other hand is Google’s flavor of Jupyter notebooks that is particularly suited for machine learning and data analysis and that runs entirely in the cloud. Colab is basically Jupyter notebook on steroids: it’s free, requires no setup, comes preinstalled with many packages, is easy to share with the world, and benefits from free access to hardware accelerators like GPUs and TPUs (with some caveats).
To get yourself familiar with Python and notebooks, we’ll be running
a short tutorial as a standalone Jupyter or Colab notebook. If you wish
to use Colab, click the Open in Colab badge below.
If you wish to run the notebook locally make sure your virtual environment was installed correctly (as per the setup instructions), activate it, then run pip install notebook to install Jupyter notebook. Next, open the notebook and download it to a directory of your choice by right-clicking on the page and selecting Save Page As. Then cd to that directory and run the following in your terminal:
jupyter notebook
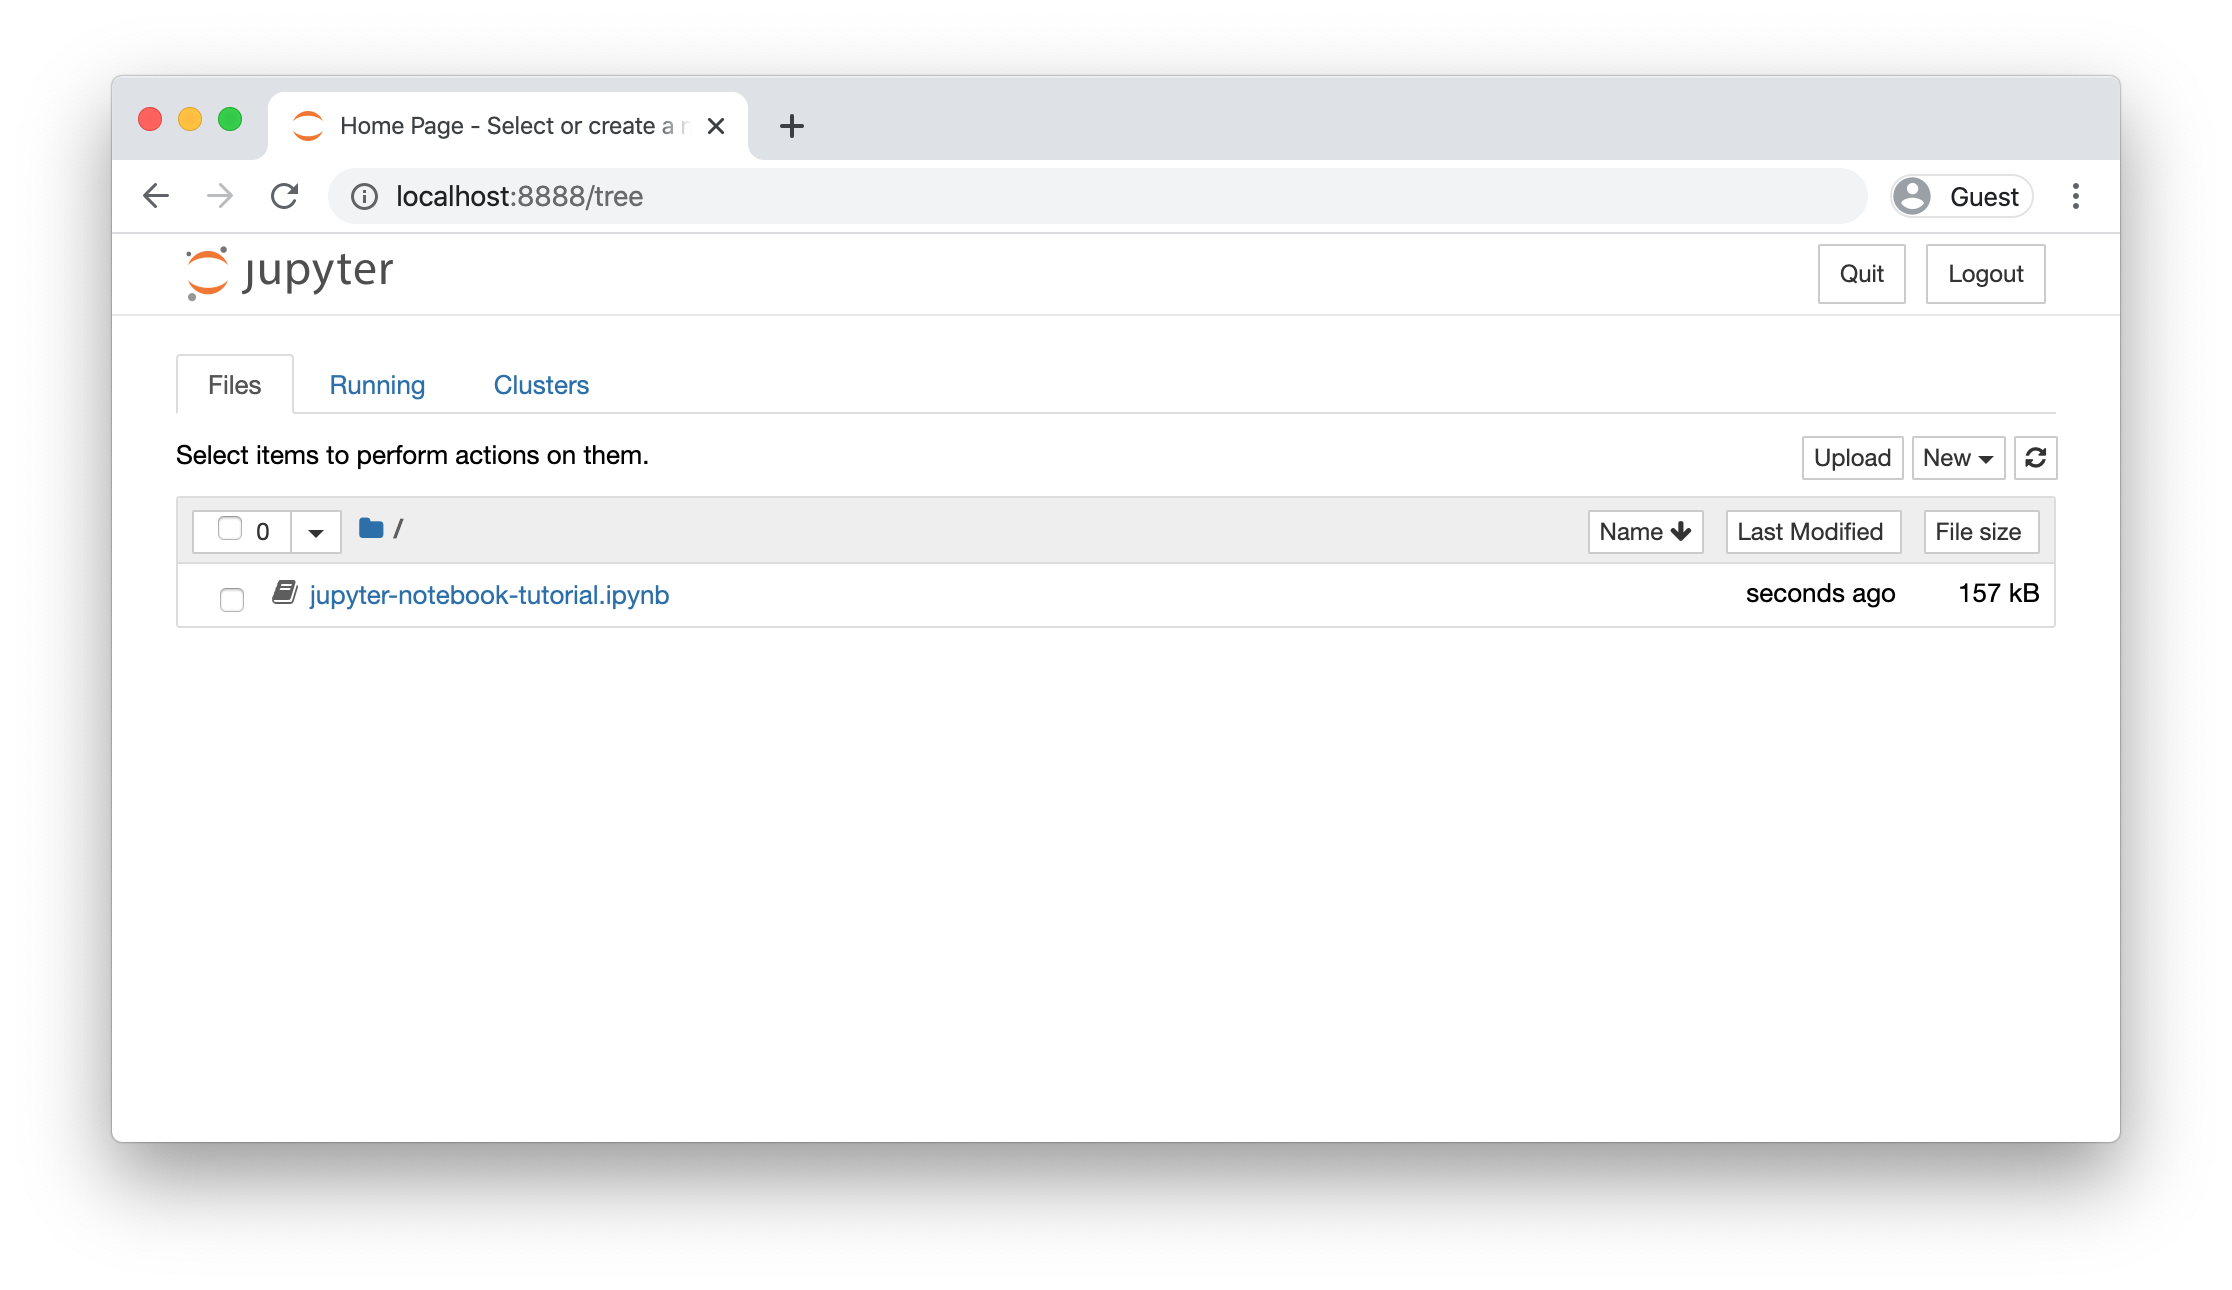
Once your notebook server is up and running, point your web browser to http://localhost:8888 to
start using your notebooks. If everything worked correctly, you should
see a screen like this, showing all available notebooks in the current
directory:

Click jupyter-notebook-tutorial.ipynb and follow the instructions in the notebook. Enjoy!