AWS Tutorial
For GPU instances, we also have an Amazon Machine Image (AMI) that you can use to launch GPU instances on Amazon EC2. This tutorial goes through how to set up your own EC2 instance with the provided AMI. We do not currently distribute AWS credits to CS231N students but you are welcome to use this snapshot on your own budget.
TL;DR for the AWS-savvy: Our image is
cs231n_caffe_torch7_keras_lasagne_v2, AMI ID: ami-125b2c72 in the us-west-1
region. Use a g2.2xlarge instance. Caffe, Torch7, Theano, Keras and Lasagne
are pre-installed. Python bindings of caffe are available. It has CUDA 7.5 and
CuDNN v3.
First, if you don’t have an AWS account already, create one by going to the AWS homepage, and clicking on the yellow “Sign In to the Console” button. It will direct you to a signup page which looks like the following.
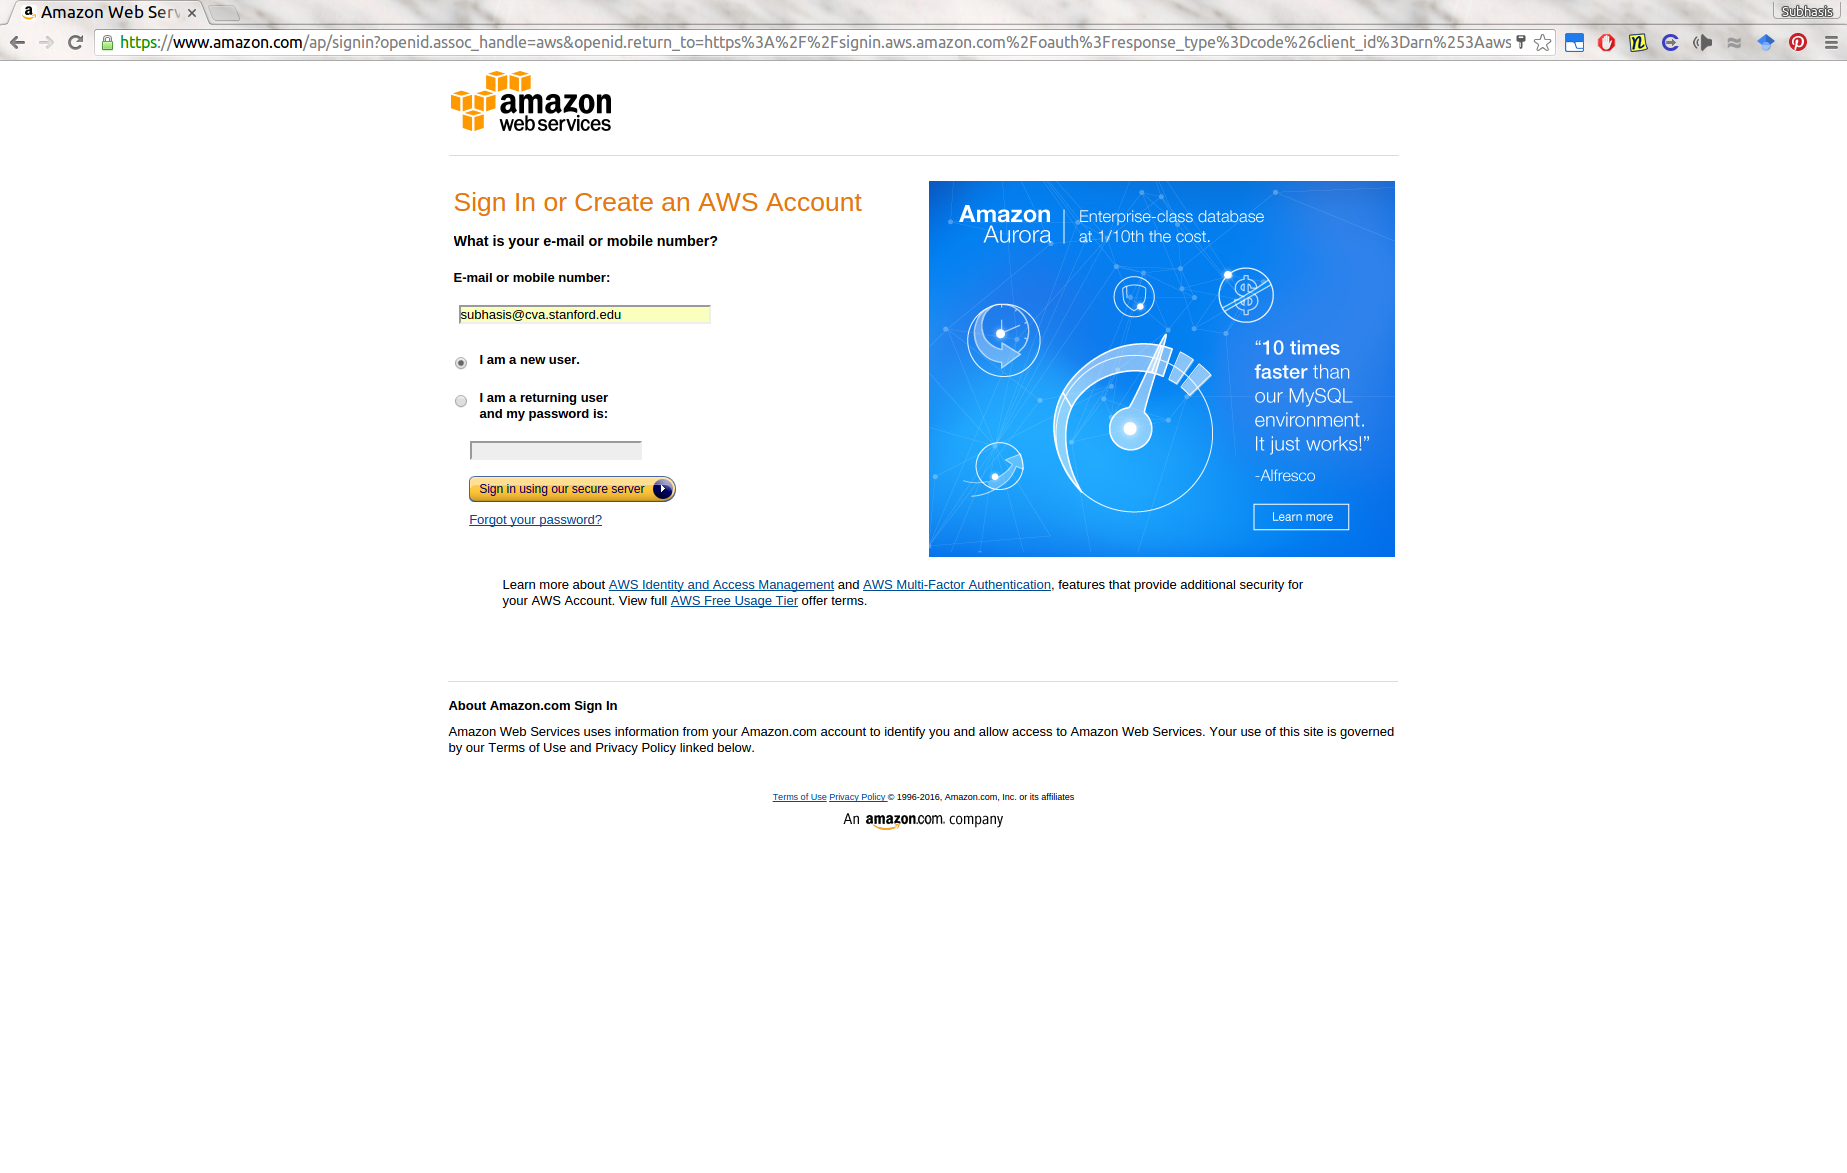
Select the “I am a new user” checkbox, click the “Sign in using our secure server” button, and follow the subsequent pages to provide the required details. They will ask for a credit card information, and also a phone verification, so have your phone and credit card ready.
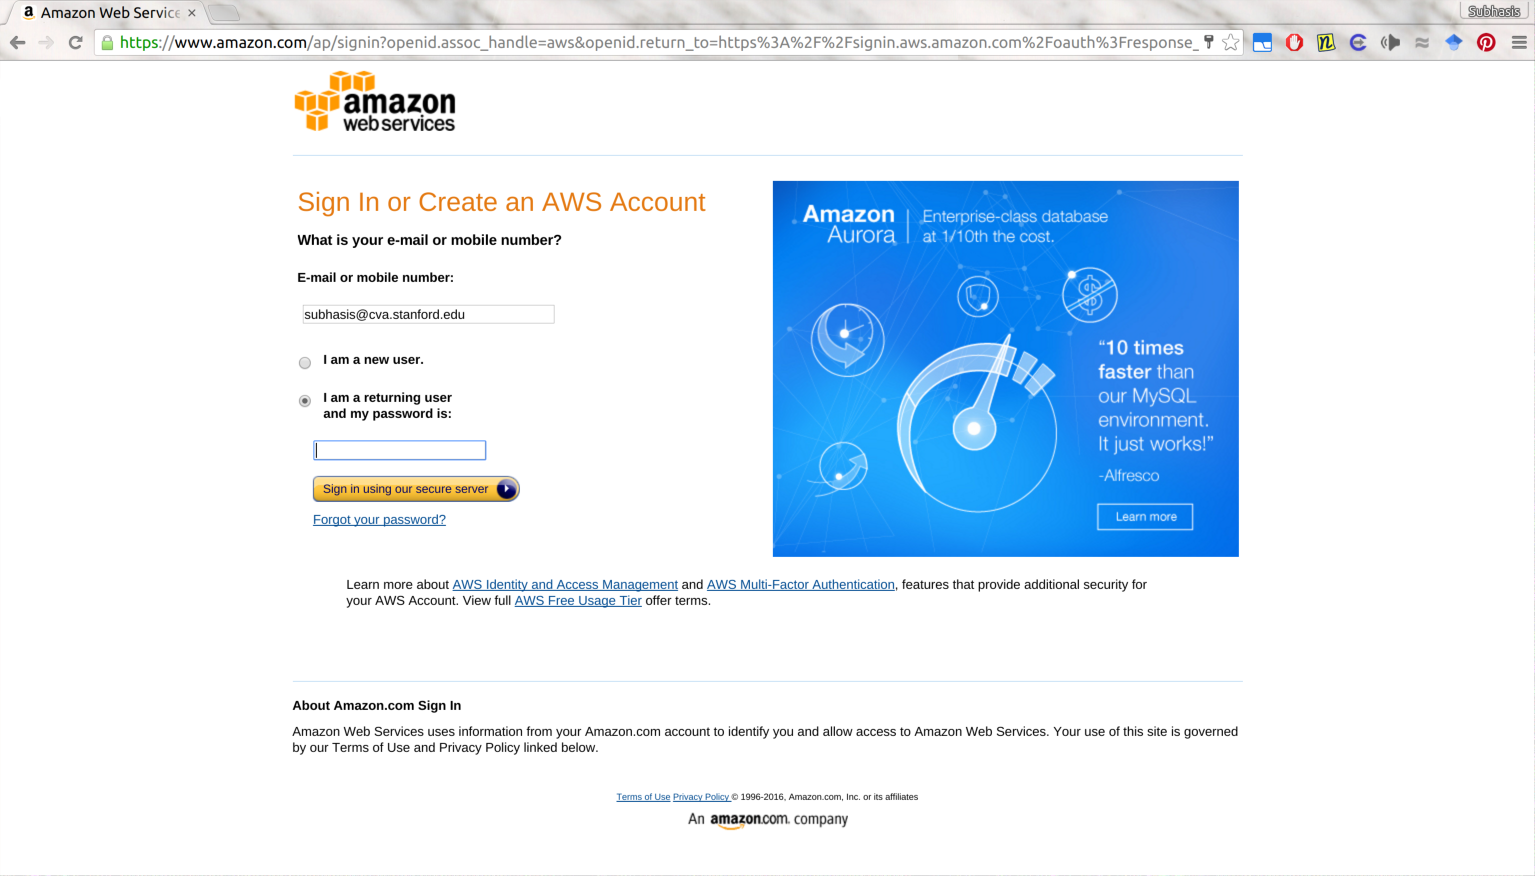
Once you have signed up, go back to the AWS homepage, click on “Sign In to the Console”, and this time sign in using your username and password.
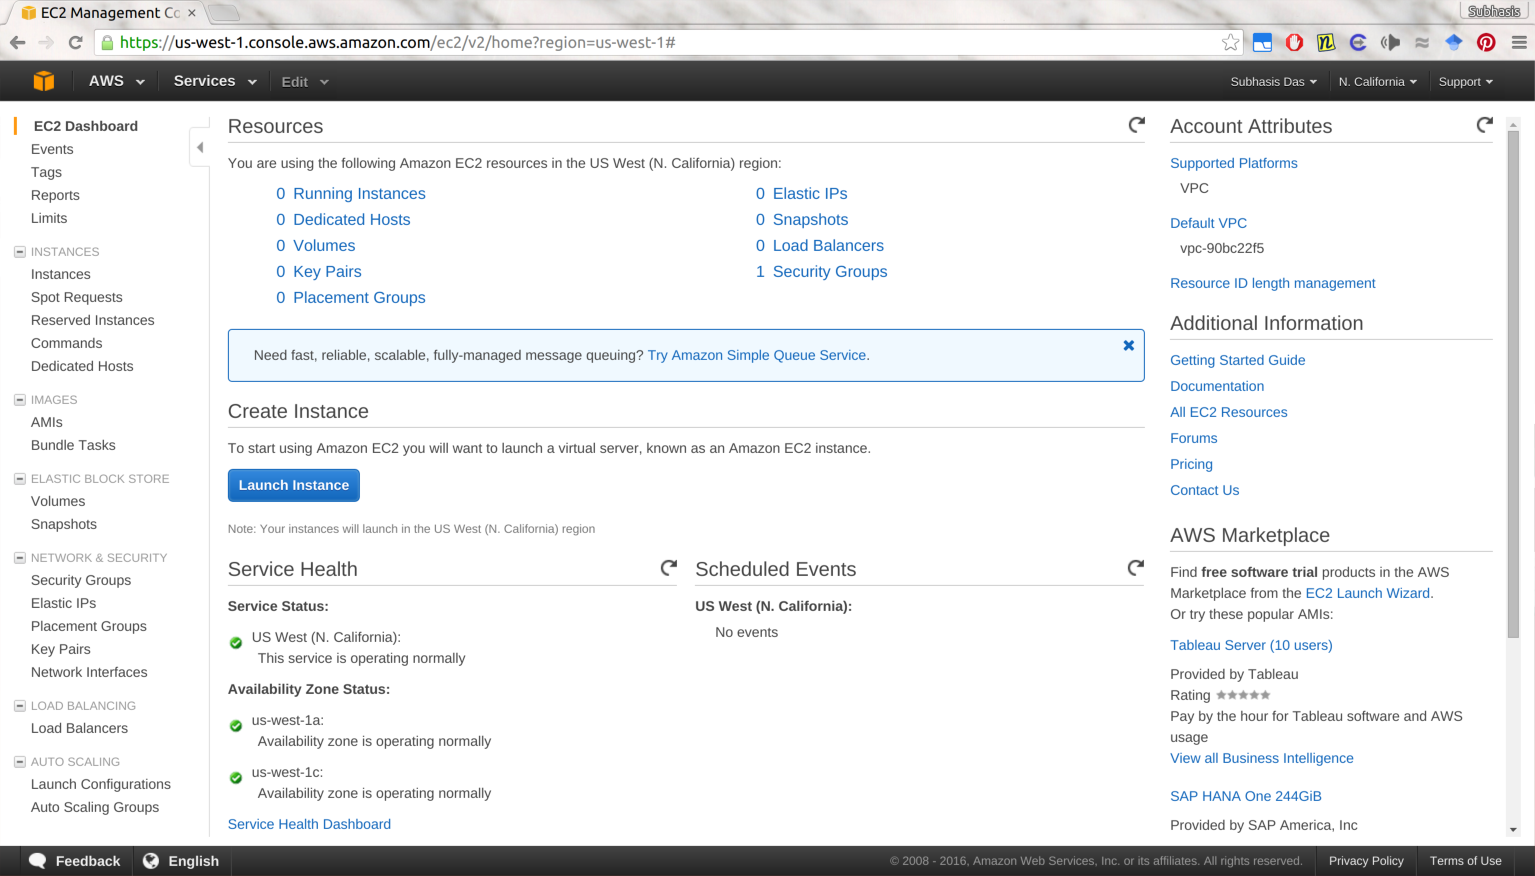
Once you have signed in, you will be greeted by a page like this:

Make sure that the region information on the top right is set to N. California. If it is not, change it to N. California by selecting from the dropdown menu there.
(Note that the subsequent steps requires your account to be “Verified” by Amazon. This may take up to 2 hrs, and you may not be able to launch instances until your account verification is complete.)
Next, click on the EC2 link (first link under the Compute category). You will go to a dashboard page like this:
Click the blue “Launch Instance” button, and you will be redirected to a page like the following:
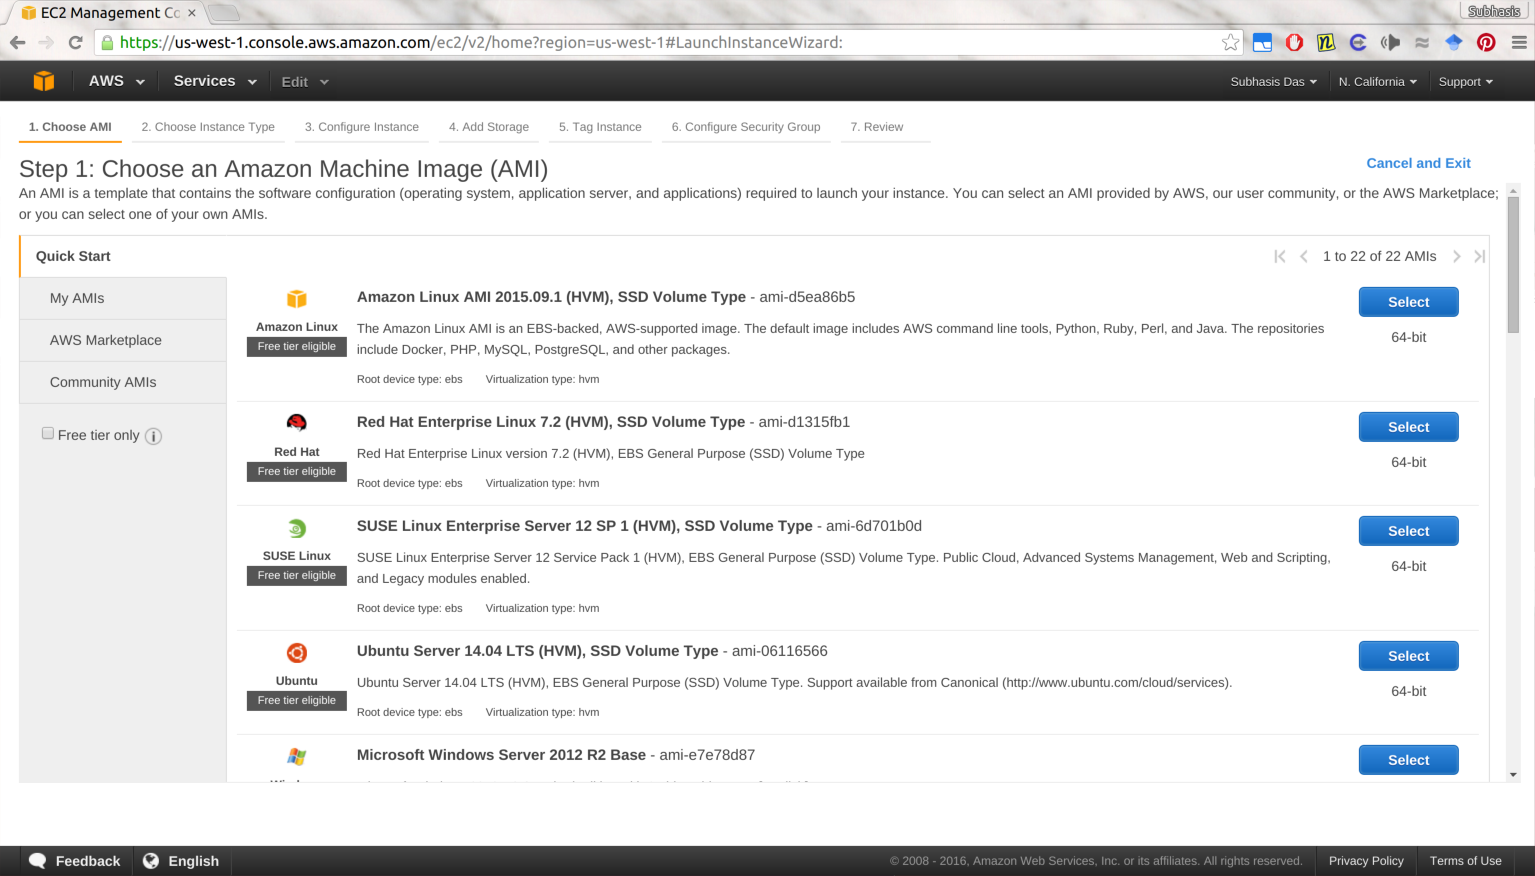
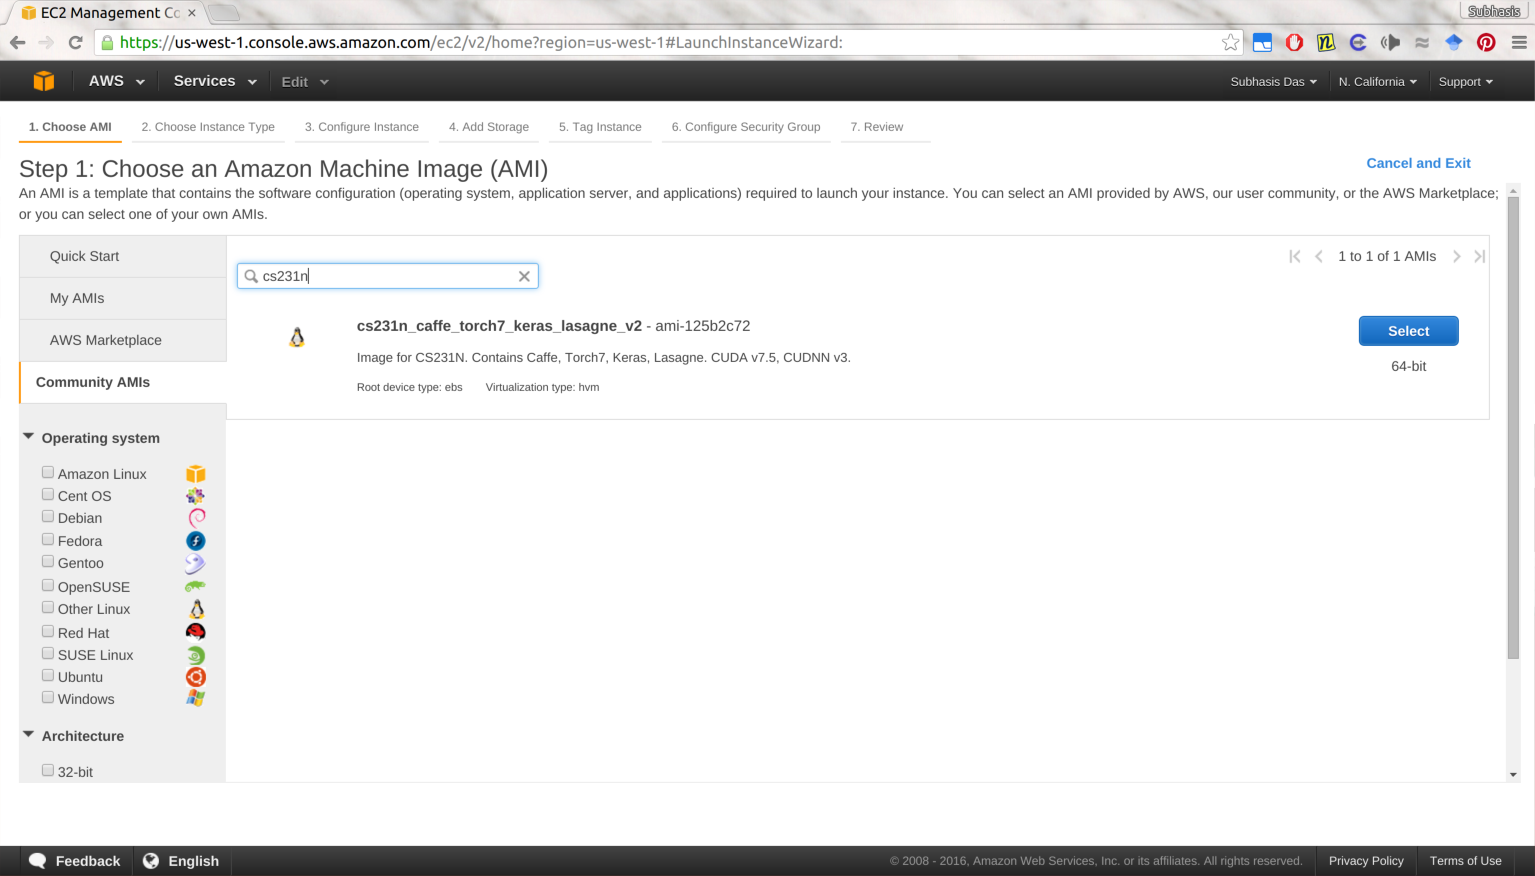
Click on the “Community AMIs” link on the left sidebar, and search for “cs231n”
in the search box. You should be able to see the AMI
cs231n_caffe_torch7_keras_lasagne_v2 (AMI ID: ami-125b2c72). Select that
AMI, and continue to the next step to choose your instance type.
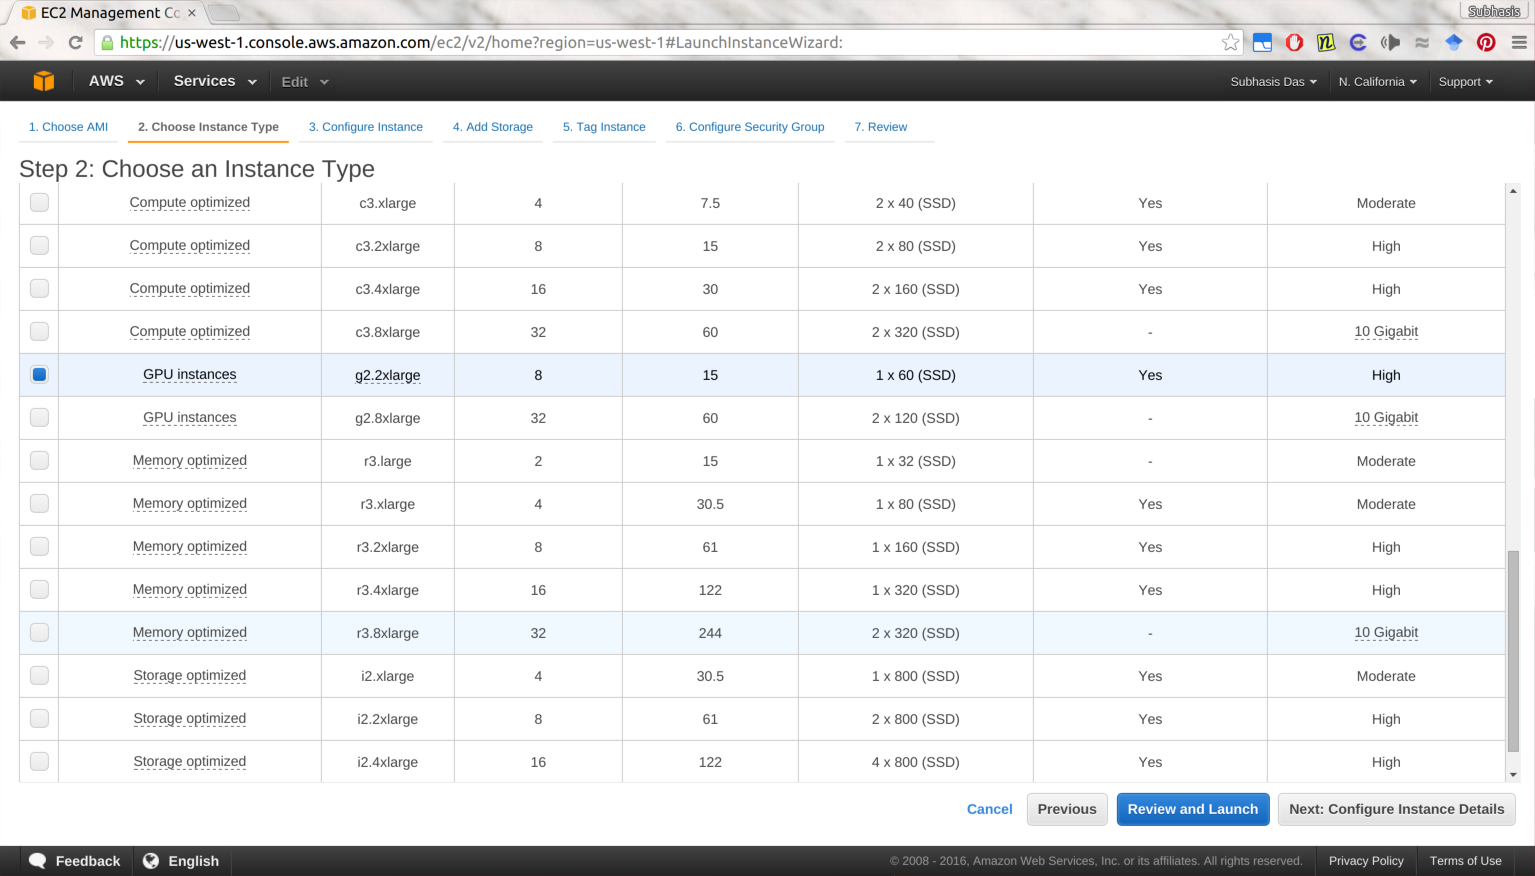
Choose the instance type g2.2xlarge, and click on “Review and Launch”.
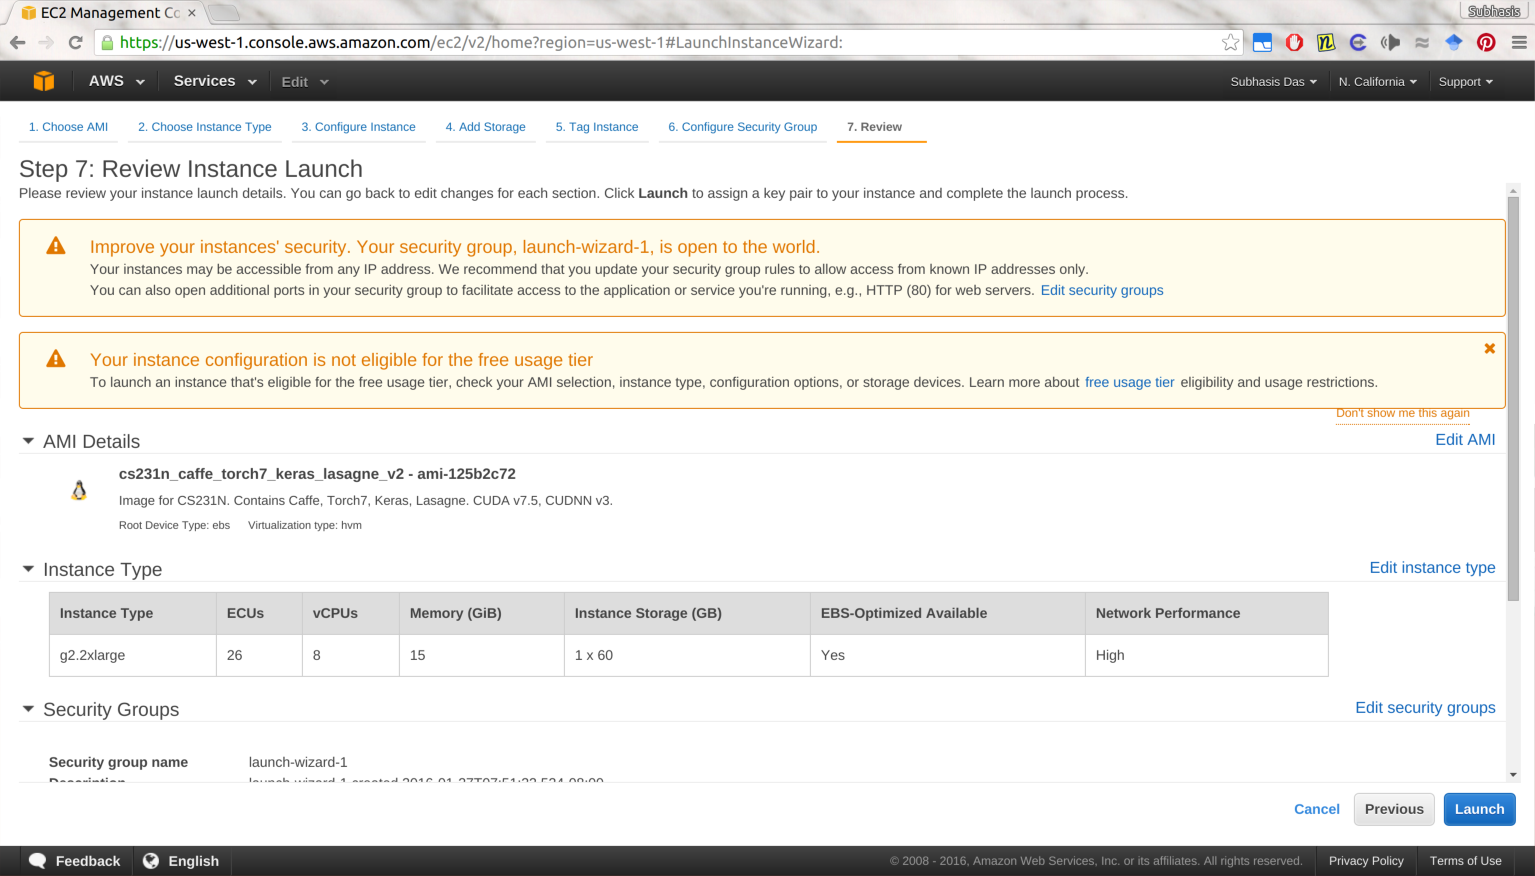
In the next page, click on Launch.
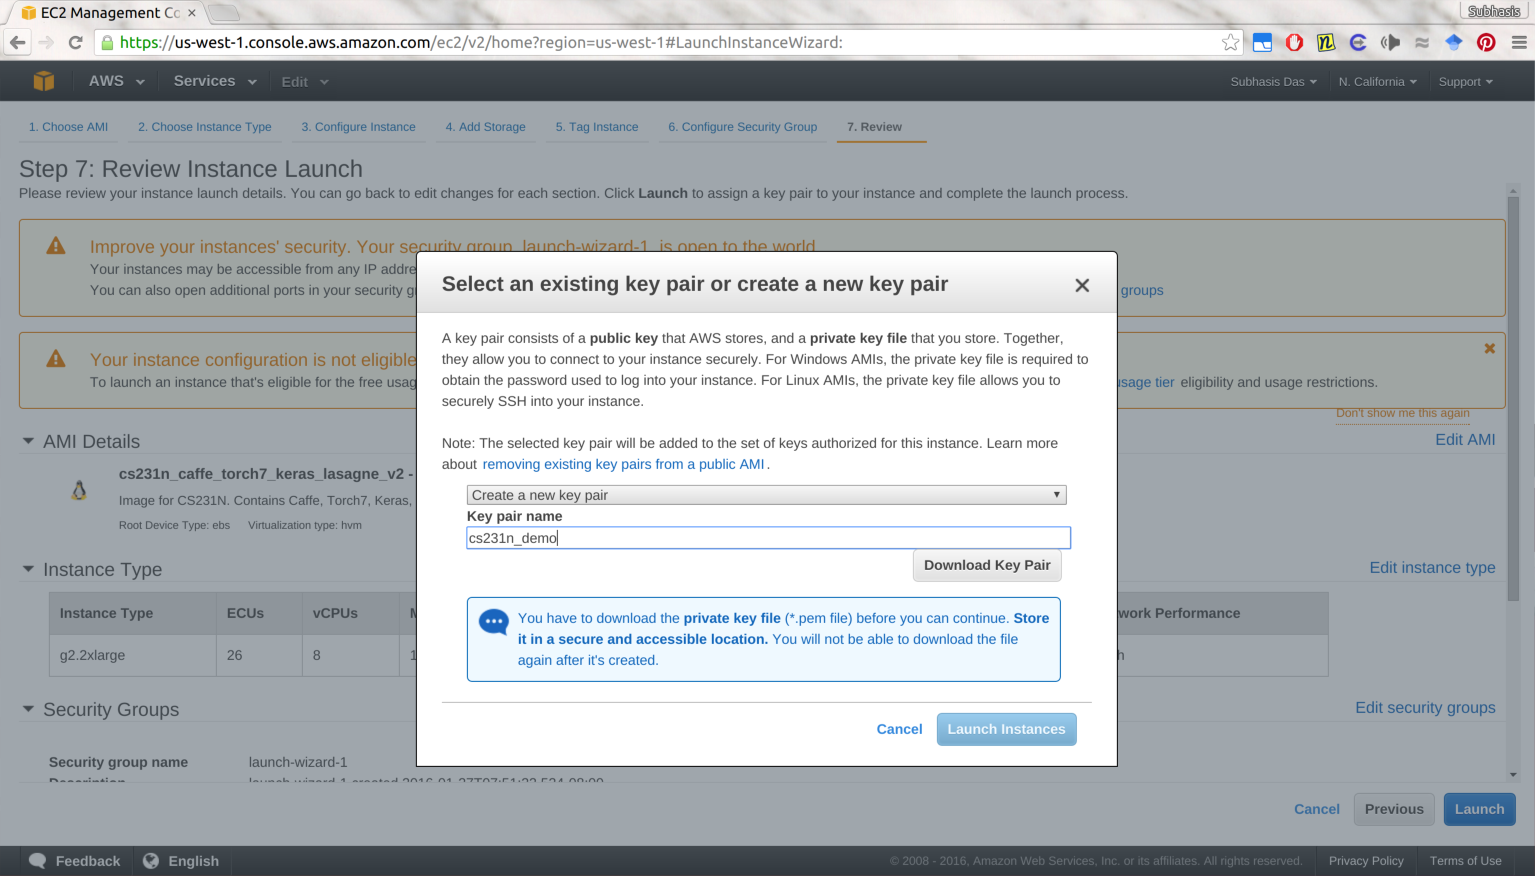
You will be then prompted to create or use an existing key-pair. If you already use AWS and have a key-pair, you can use that, or alternately you can create a new one by choosing “Create a new key pair” from the drop-down menu and giving it some name of your choice. You should then download the key pair, and keep it somewhere that you won’t accidentally delete. Remember that there is NO WAY to get to your instance if you lose your key.

Once you download your key, you should change the permissions of the key to user-only RW, In Linux/OSX you can do it by:
$ chmod 600 PEM_FILENAME
Here PEM_FILENAME is the full file name of the .pem file you just downloaded.
After this is done, click on “Launch Instances”, and you should see a screen showing that your instances are launching:
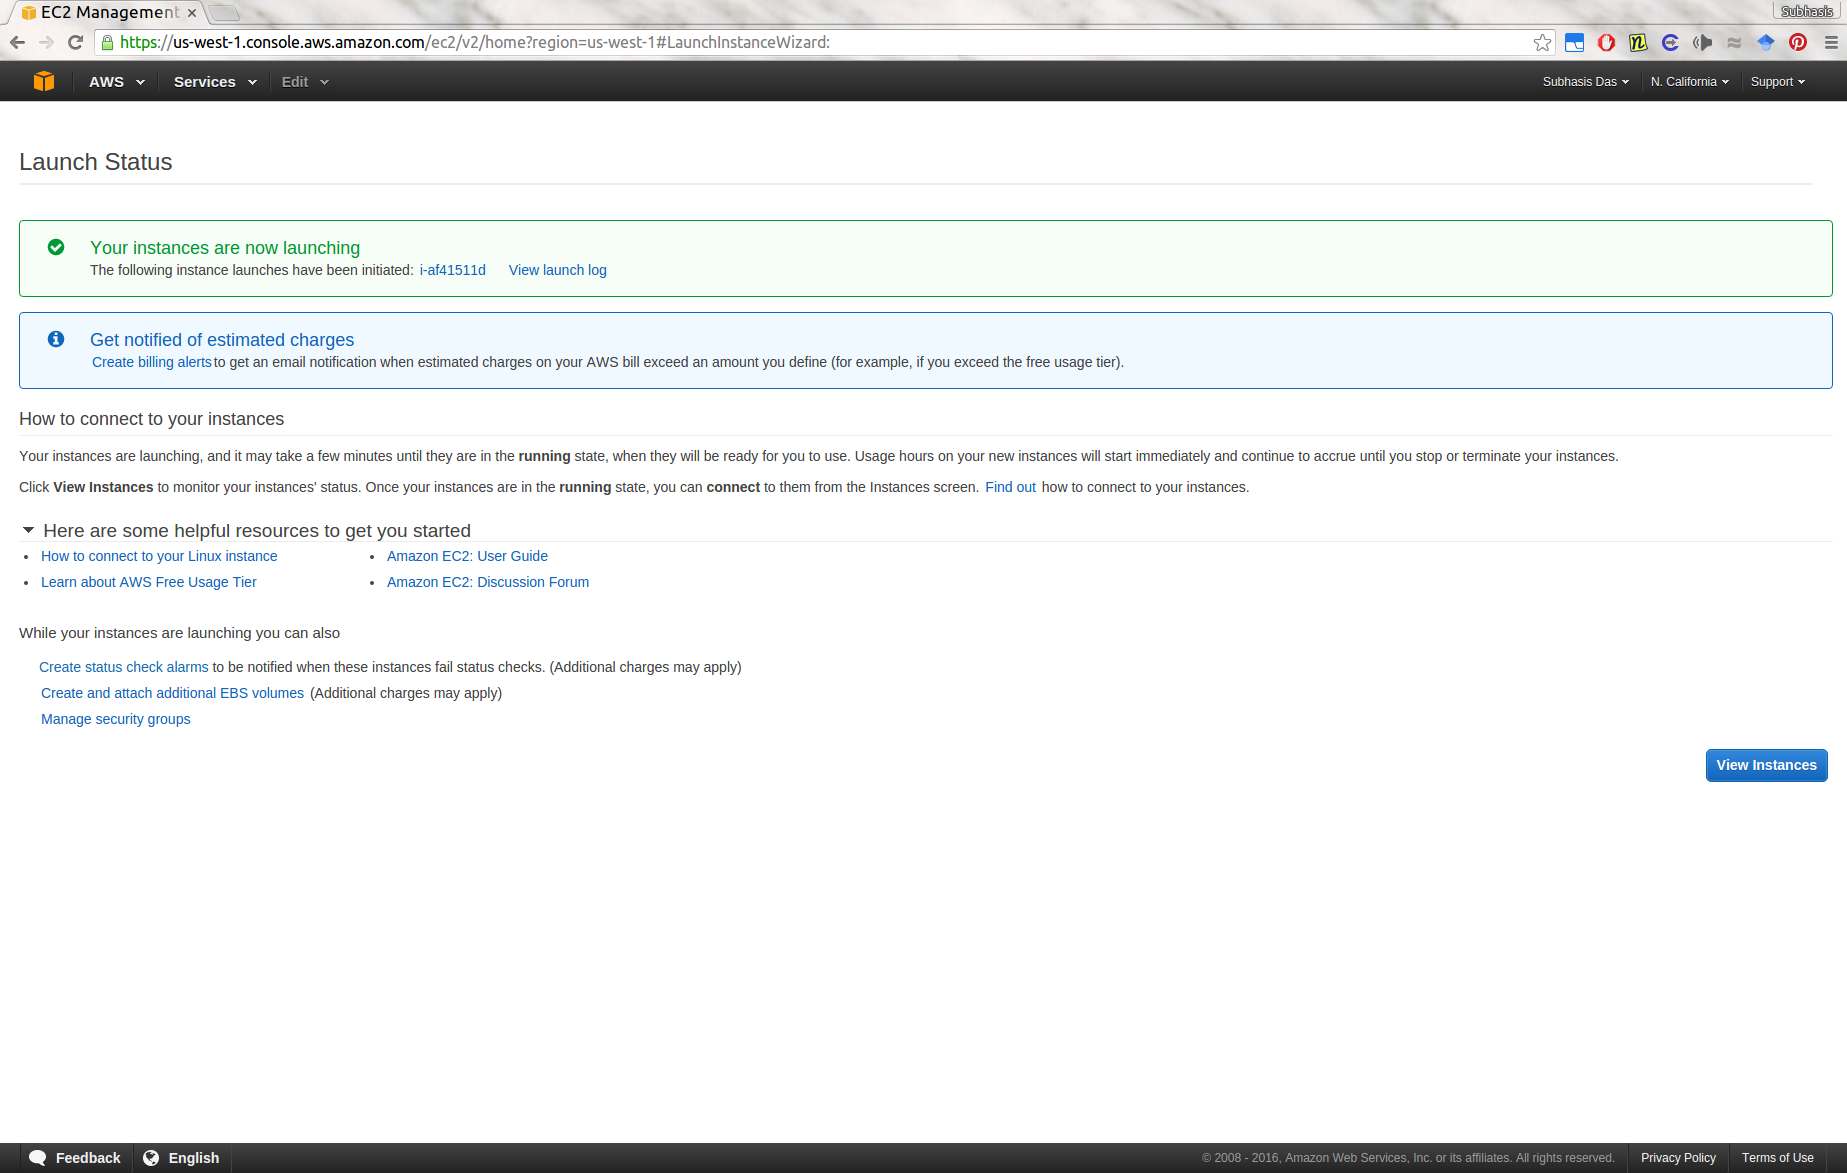
Click on “View Instances” to see your instance state. It should change to “Running” and “2/2 status checks passed” as shown below within some time. You are now ready to ssh into the instance.
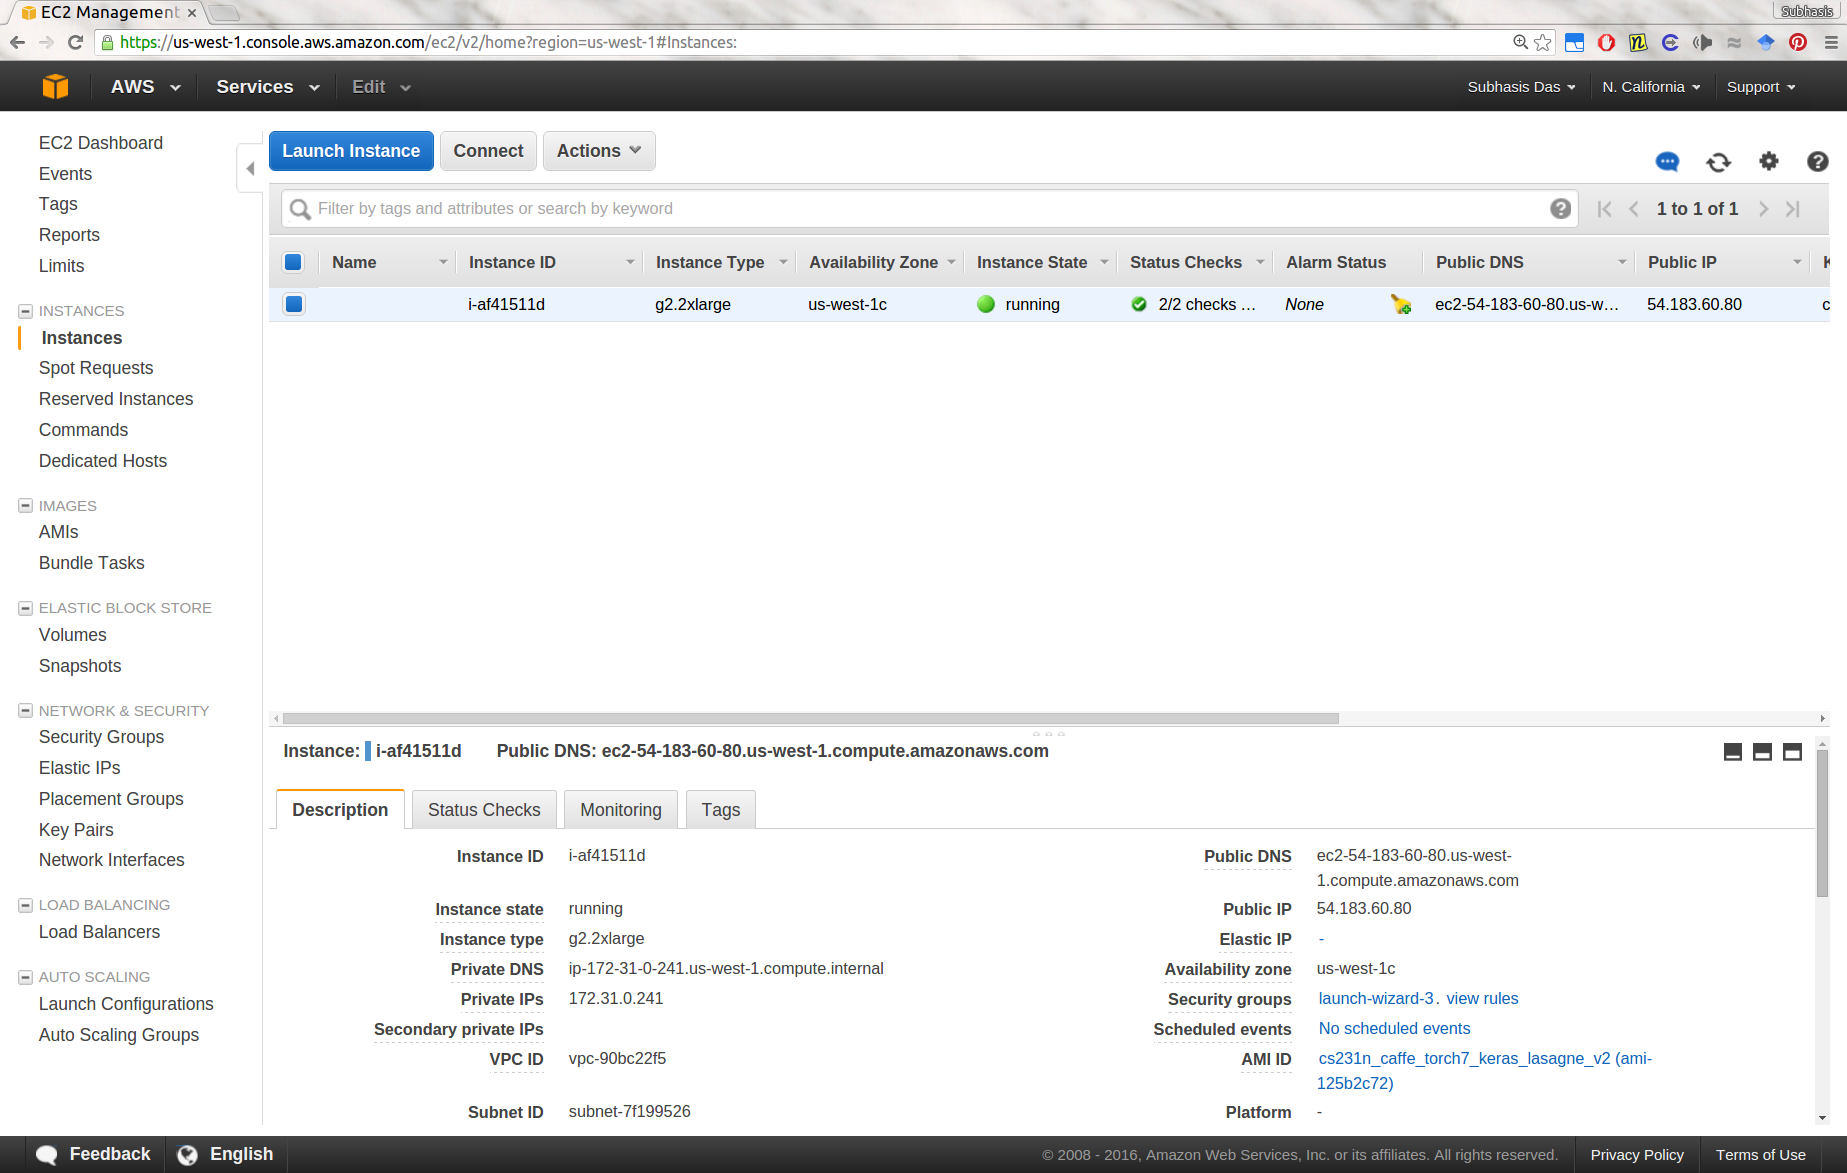
First, note down the Public IP of the instance from the instance listing. Then, do:
ssh -i PEM_FILENAME ubuntu@PUBLIC_IP
Now you should be logged in to the instance. You can check that Caffe is working by doing:
$ cd caffe
$ ./build/tools/caffe time --gpu 0 --model examples/mnist/lenet.prototxt
We have Caffe, Theano, Torch7, Keras and Lasagne pre-installed. Caffe python bindings are also available by default. We have CUDA 7.5 and CuDNN v3 installed.
If you encounter any error such as
Check failed: error == cudaSuccess (77 vs. 0) an illegal memory access was encountered
you might want to terminate your instance and start over again. I have observed this rarely, and I am not sure what causes this.
About how to use these instances:
- The root directory is only 12GB, and only ~ 3GB of that is free.
- There should be a 60GB
/mntdirectory that you can use to put your data, model checkpoints, models etc. - Remember that the
/mntdirectory won’t be persistent across reboots/terminations. - Stop your instances when are done for the day to avoid incurring charges. GPU instances are costly. Use your funds wisely. Terminate them when you are sure you are done with your instance (disk storage also costs something, and can be significant if you have a large disk footprint).
- Look into creating custom alarms to automatically stop your instances when they are not doing anything.
- If you need access to a large dataset and don’t want to download it every time you spin up an instance, the best way to go would be to create an AMI for that and attach that AMI to your machine when configuring your instance (before launching but after you have selected the AMI).